Adding & Managing Fonts In Kixxl
Within Kixxl on Shopify, the Fonts feature is all about giving your customers the ability to add and customize text directly inside the builder. You decide whether customers see only your approved brand fonts or a wider library. Also, it helps in maintaining design consistency and avoiding random/unprofessional fonts.
Ensure your login and the Kixxl Installation to the Shopify store.
- Accessing the Fonts
Navigate to the “Kixxl” on the right side menu bar and select “Fonts”.
The “Fonts” tab from the dashboard allows you to view already available fonts in your store.

- Adding New Fonts:
Click on the “Add Fonts” button at the upper right corner of the tab.

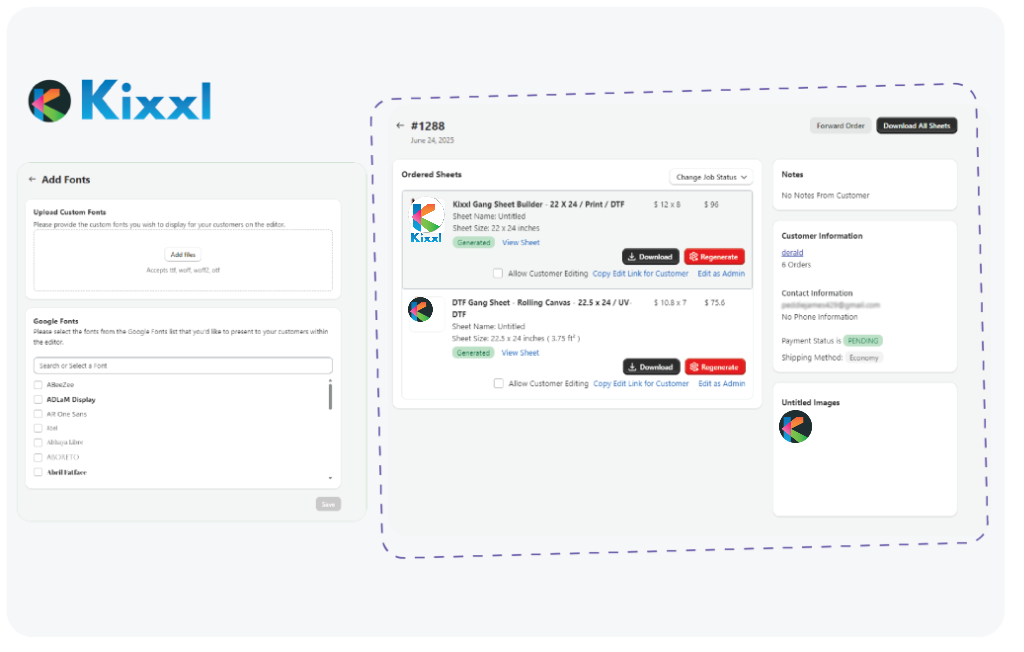
2.1. Uploading Custom Fonts:
You can add custom fonts of your choice to display for your customers in the editor. Add the font file in any of the given formats.
2.2. Adding Fonts from Google:
You can search or select multiple fonts from the fonts list available at Google.

- Changing Font Status
You can change the font status accordingly: Active or Inactive. Click “save” after changing the status.

Troubleshooting
Fonts not appearing in the builder?
Make sure the font is set to Active in your Fonts tab. Moreover, clear your browser cache and reload the editor.
Google Fonts not syncing in the builder?
Make sure you’re connected to the internet while adding. Also, double-check that the selected Google Font was actually saved in your Kixxl app.
RELATED ARTICLES:
How to manage image libray in Kixxl?