How To “Nest Sheets” in Kixxl Editor?
The Kixxl Editor makes it easy to design, customize, and arrange your gang sheets before printing. This guide walks you through all the tools and features step by step so you can get the most out of the editor.
Make sure you are logged into the same Shopify store where Kixxl is installed to access the editor.
In the Kixxl Editor, the “Nesting Sheets” feature automatically arranges multiple images or designs on a single sheet in the most space-efficient way. This reduces wasted space and material, which means lower production costs and faster sheet preparation.
Moreover, this feature supports:
- Multiple Designs togther: You can upload or select multiple designs, and the tool fits them together like a puzzle.
- Cleaner Layouts: Keeps spacing consistent and aligned for professional output.
- Reduces Material Waste: Helps avoid blank or unused areas on sheets, saving vinyl/film.
- Improves Efficiency: Faster preparation for bulk printing and cutting jobs.
How to Nest Sheets in Kixxl Editor?
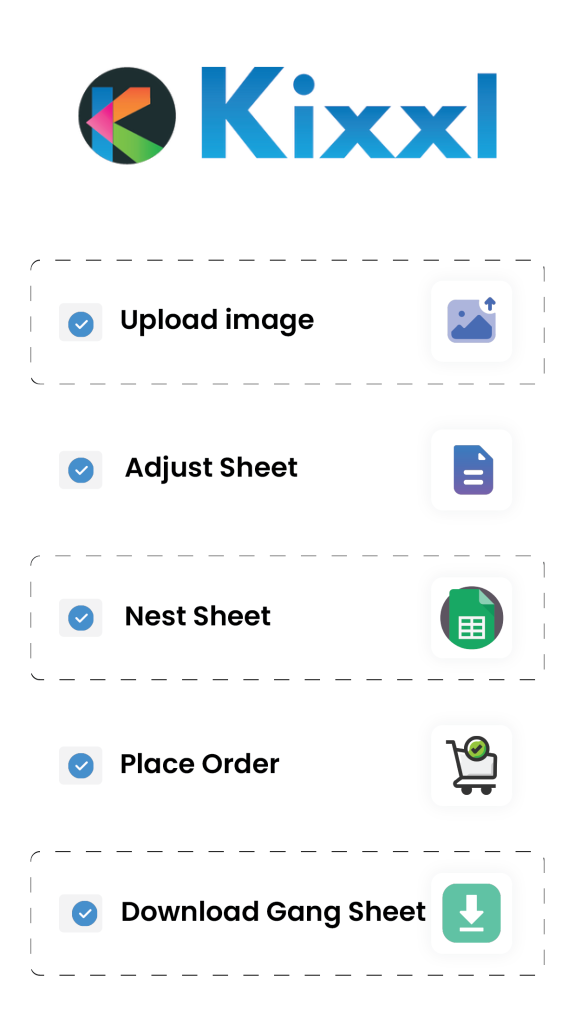
- Start by uploading or selecting the images/designs you want to place on the gang sheet.
- Place your logos, graphics, or text elements on the sheet. (you can move these design elements manually—but for efficiency, you’ll use Nest Sheet.)
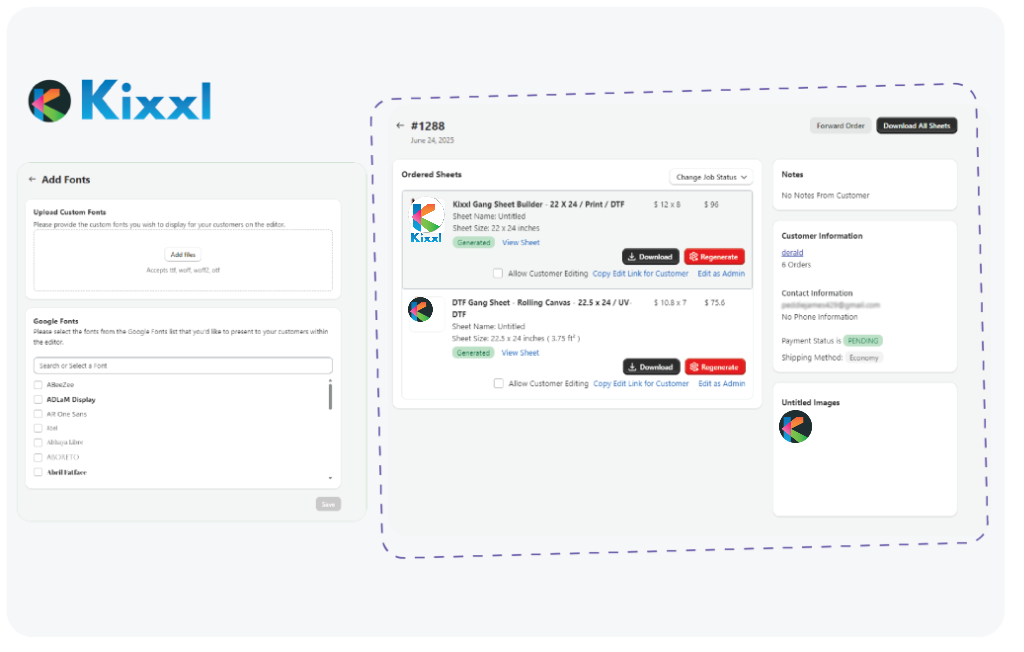
- Click on “Nest Sheet” option placed on the upper right corner of the editor.
- Once selected, the editor will automatically rearrange all your designs. The tool fits them like puzzle pieces, minimizing gaps and maximizing sheet space.
Adjust Settings (Optional)
Even after nesting the sheets, you can manually fine-tune or undo and try again with different spacing/orientation rules.