
Products Type & Customization
Ensure your login and the Kixxl Installation to the Shopify store.
1. Access the Product
Navigate to the Kixxl on the right side menu bar and select Products. (The Products tab allows you to view all items configured in your store.)
Click on the product you want to customize or edit.
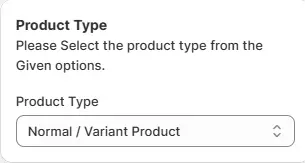
2. Assign the Product Type
Pick a Product Type to set the product version; Normal or Variant.
Your choice can adjust how the builder behaves and what options you see.
3. Edit the Product
3.1 Product Dimensions
- Enter the desired Width and Height for the product.
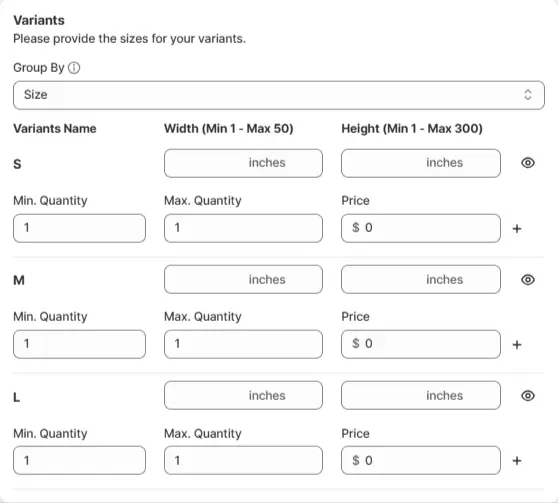
- Group By: Size or by Material.
(When you define sizes for an option, Kixxl groups them correctly in the designer. For example, if a product offers both DTF and UV DTF, only the chosen option and its sizes will be shown. This way, customers see and order the exact material they selected.)

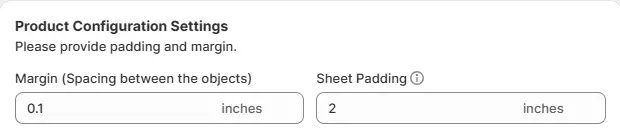
3.2 Product Configuration Settings:
Padding & Margin Settings
Add the values of margin and sheet padding to achieve the desired product size.

- Image DPI
DPI stands for Dots Per Inch. It’s a measure of an image’s print resolution. The higher the DPI, the sharper and clearer the print quality.
Also, if the customer uploads images with a DPI of less than 100, the system will automatically convert them to 300 DPI for better quality.
Select Enable to automatically adjust the DPI of uploaded images to 300.

- Image Resizing
This setting help customers easily place images on the gang sheet without manual adjustments.
Select Enable if you want Kixxl to automatically resize the images if they are larger than the sheets.

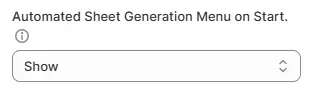
- Sheet Generation Menu on Start
It is a pop-up that automatically shows up when customers open the editor. You can Show/hide the menu accordingly.
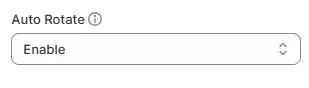
- Auto Rotate
This setting allow the builder to auto-rotate the image in case the image is too big for the sheet.
You can Enable/Disable the setting accordingly.
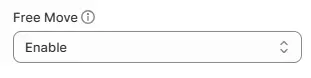
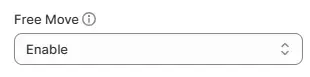
- Free Move
Selecting “Enable” for this feature will allow customers to move outside the canvas. you can toggle this on or off from the Builder.
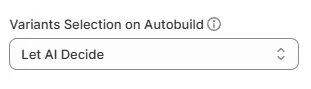
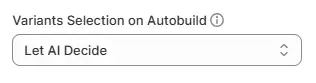
- Variants Selection on Autobuild:
Enabling this setting ensures that customer images fit the selected sheet size. (applies only to Automated sheet generation). However, you can add any size in the builder manually, too.
You can select “customer selected variant” or “Let AI decide”.
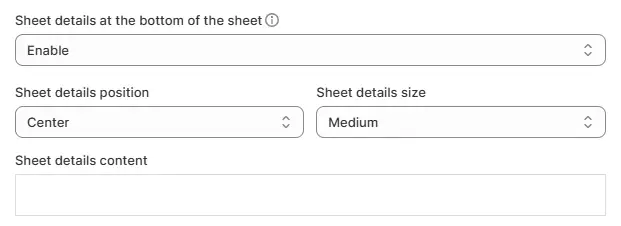
- Sheet Details Position:
Enabling this feature will add important information to the Bottom or Top of the gang sheet, helping you identify the sheets after printing.
Also, you can choose “Sheet Details Position” (left, right, center), size of sheet details (small, medium, large), and add sheet details content.
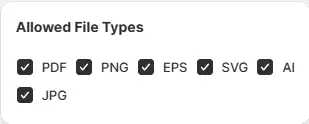
Selecting File Types
You can choose one or multiple formats for your file i.e., PNG, PDF, SVG, AI, EPS, JPEG.

Gang Sheet Generation Settings
Format: You can select the Gang sheet generation format accordingly, i.e PNG, PDF, or TIFF.
Trimming: You can choose how the gang sheet should be trimmed after printing. No trimming at all, Height-wise, length-wise, or both.
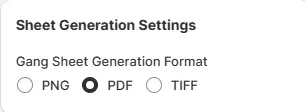
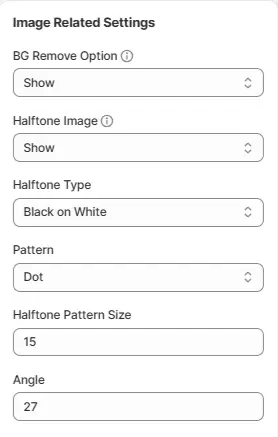
Image Related Settings
Background Removal: select Show if you want your customers to have an option to remove the background from their uploaded images.
Halftone Image: select Show if you want to apply a dotted shading effect (halftoning) to your image. (It’s commonly used for screen-print-friendly designs.)
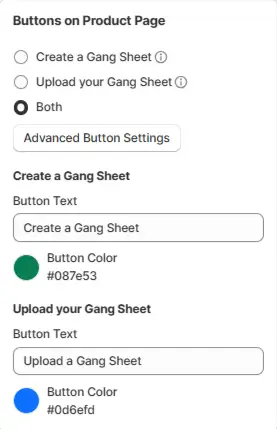
Button Settings
“Create a Gang sheet” & “Upload a Gang Sheet”, you can add both or any one of the buttons on your product page. Also, you can customize the button text and button color.
Save Your Settings
Click “Save” to make sure all your changes are applied and live.
Kixxl’s dynamic rolling canvas gives your customers more printing space without limits. The rolling canvas expands automatically as you add more designs, ensuring you never run out of space during creation. Customizing this product will enable you to meet customer demands more efficiently.
Ensure your login and the Kixxl Installation to the Shopify store.
1. Access the Product
Navigate to the Kixxl on the right side panel and select Products.
(The Products tab from the dashboard allows you to view all items configured in your store.) Click on the Product you want to customize or edit.
2. Assign the Product Type
Pick a Product Type to set the product version. i.e rolling canvas. Your choice can adjust how the builder behaves and what options you see.

3. Edit the Product
3.1 Canvas Related Settings:
Adjust the Width, Length, and Starting height of the rolling canvas to achieve the desired print or product size.
Set Minimum Order Quantity (MOQ) – (if the minimum order quantity is not met, the “Place Order” button will remain disabled until the customer adjusts their order to meet the MOQ requirement.)

3.2 Pricing
Flat Rate: choose this if you want to set a fixed price at “per square inch”.

Tier-based Pricing: opt for it if you want to set different charges for different square feet.

3.3 Product Configuration Settings:
Padding & Margin Settings
Add the values of margin and sheet padding to achieve the desired product size.

- Image DPI
Select “Enable” to automatically adjust the DPI of uploaded images to 300.

- Image Resizing
Select “Enable” if you want Kixxl to automatically resize the images if they are larger than the sheets. It will help customers easily place images without manual adjustments.

- Sheet Generation Menu on Start
Select “Show” if you want a pop-up that automatically shows up when customers open the editor.

- Auto Rotate
Selecting “Enable” will allow the builder to auto-rotate the image in case the image is too big for the sheet.

- Free Move
Selecting “Enable” for this feature will allow customers to move outside the canvas. Also, you can toggle this on or off from the Builder.

- Sheet Details Position
Enabling this feature will add important information to the top or bottom of the gang sheet, helping you identify the sheets after printing.

- Selecting File Types
You can choose one or multiple formats for your file i.e., PNG, PDF, SVG, AI, EPS, JPEG.

Gang Sheet Generation Settings
Format: You can select the Gang sheet generation format accordingly, i.e, PNG, PDF, or TIFF.
Trimming: You can choose how the gang sheet should be trimmed after printing. Height-wise, length-wise, or both.

Image Related Settings
Background Removal: select “Show” if you want your customers to have an option to remove the background from their uploaded images.
Halftone Image: select “Show” if you want to apply a dotted shading effect (Halftoning) to your image. (It’s commonly used for screen-print-friendly designs.)

Button Settings
You can customize buttons accordingly, i.e: adding custom text and color.

Save Your Settings
Click “Save” to make sure all your
You can simplify your sticker printing process with Kixxl’s Sticker Maker Pro. It eliminates the need to create cut lines by hand, arranges multiple designs on a single sheet, and provides ready-to-use files for your cutting machine.
Sticker Maker Pro has further two types:
- Single Sticker: Create and manage individual stickers, perfect for one-off designs.
- Sticker Sheet: Arrange multiple stickers on a single sheet for batch printing and efficient production.
Ensure your login and the Kixxl Installation to the Shopify store.
1. Access the Product
Navigate to the Kixxl on the right side menu bar and select Products.
The Products tab allows you to view all items configured in your store. Click on the product you want to customize or edit.
2. Assign the Product Type
Pick a Product Type to set the product version.ie, Sticker Sheet or Single Sticker. Your choice can adjust how the builder behaves and what options you see.

3. Editing the Product
3.1. Product dimensions:
Enter the desired Width and Height of the Sticker sheet to achieve the desired print or product size.
Enter the Minimum and Maximum quantities along with their price.
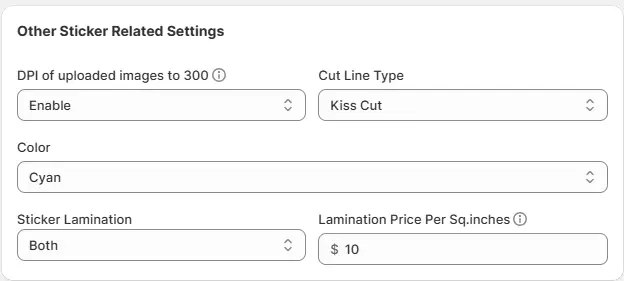
3.2. Sticker Related Settings:
- Image DPI
DPI stands for Dots Per Inch. It’s a measure of an image’s print resolution. The higher the DPI, the sharper and clearer the print quality.
Also, if the customer uploads images with a DPI of less than 100, the system will automatically convert them to 300 DPI for better quality.
Select “Enable” to automatically adjust the DPI of uploaded images to 300.
- Cut Line type
Choose your cutline: Kiss Cut or Die Cut.
The Cutline type defines how the cutting machine will cut your sticker or design. It’s the path or outline generated around your artwork that tells the cutter where to trim.
- Kiss Cut: The machine cuts only through the sticker layer, not the backing paper. The sticker stays on the sheet but can be peeled off easily.
- Die Cut: The machine cuts through both the sticker layer and the backing paper. It creates individual stickers in the exact shape of your design.
- Color
Choose a color for the sticker from the given options.
- Sticker Lamination
You can opt for one or more types of sticker lamination. Such as:
- Glossy – Shiny and vibrant finish.
- Matte – Smooth, non-reflective surface.
- None – No lamination applied.
You can Enable/Disable this option accordingly. - Lamination price per square Inch:
In case you are offering lamination for the sticker, you will need to add the extra price per square inch that you are charging for lamination.
Product Configuration Settings:
(In case of Single Sticker, you don’t need to add product configuration settings.)
Padding & Margin Settings
Add the values of margin and sheet padding to achieve the desired product size.
- Image DPI
Select “Enable” to automatically adjust the DPI of uploaded images to 300.

- Image Resizing
Select “Enable” if you want Kixxl to automatically resize the images if they are larger than the sheets. It will help customers easily place images without manual adjustments.

- Sheet Generation Menu on Start
Select Show if you want a pop-up that automatically shows up when customers open the editor.

- Free Move
Selecting “Enable” for this feature will allow customers to move outside the canvas. Also, you can toggle this on or off from the Builder.
- Variants Selection on Autobuild
Enabling this setting ensures that customer images fit the selected sheet size. (applies only to Automated sheet generation). However, you can add any size in the builder manually, too.
You can select “customer selected variant” or “Let AI decide”.
Selecting File Types
You can choose one or multiple formats for your file—i.e., PNG, PDF, SVG, AI, EPS, JPEG.
Gang Sheet Generation Settings
Select the Gang sheet generation format PDF only.
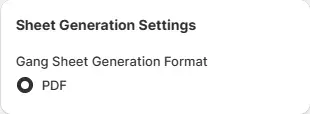
Image Related Settings
Select Show if you want your customers to have an option to remove the background from their uploaded images.

Button Settings
You can customize buttons accordingly, i.e: adding custom text and color.

Save Your Settings
Click Save or Update to make sure all your changes are applied and live.


