Introduction
If you’re getting into DTF printing, you will quickly realize that DTF film is more than just a sheet that holds your design.
DTF film is a specially coated PET (polyethylene terephthalate) film designed to work with DTF inks and hot-melt adhesive powder.
The film sits at the center of the transfer process. It receives the CMYK and white ink, holds the adhesive powder during curing, and then releases the finished design onto the garment during heat pressing.
That means the wrong film, incorrect film orientation, poor storage, or incorrect peeling method can lead to wasted prints, poor adhesion, ink problems, and inconsistent results.
This Guide will help you understand everything you need to know about DTF film, from the basics to advanced.
What is DTF Film?
DTF film is a specially coated PET film used as the carrier for a Direct-to-Film transfer.
Unlike ordinary plastic film, DTF film has a specially designed surface coating that allows DTF pigment ink to print onto it properly. The printed design then receives hot-melt adhesive powder before being cured and transferred to fabric using a heat press.
The basic process looks like this:
Artwork → Print on DTF Film → Apply Powder → Cure → Heat Press → Peel Film → Finished Transfer
The film itself does not become part of the final garment. Its job is to carry the design through the printing and transfer process and then release it cleanly.
This is why using generic PET film isn’t a simple replacement for actual DTF film. DTF film needs the right coating and release characteristics for the ink, powder, curing, and pressing stages.
How Does DTF Film Work?
A DTF film performs several jobs during the printing process.
1. It receives the ink
The coated surface is designed to accept water-based DTF pigment ink without causing excessive beading or uncontrolled spreading.
2. It holds the printed image
The film temporarily holds the CMYK and white ink layers while the transfer is prepared.
3. It holds adhesive powder
Hot-melt adhesive powder is applied over the wet print. The powder sticks to the printed areas and is then cured.
4. It carries the transfer to the garment
After curing, the film carries the complete transfer to the heat press.
5. It releases the transfer
During heat pressing, the adhesive bonds the design to the fabric. The film is then removed according to its specified peel method.
The release coating is particularly important because the film must hold the design during production but release it when required.
What Is DTF Film Made Of?
Most DTF transfer films use PET as the base material.
PET provides the physical strength and heat resistance needed to move the printed design through the DTF workflow. The surface is then specially coated to provide the properties required for printing and transfer.
A simplified structure looks like:
PET base → specialized coating → DTF ink → adhesive powder
The exact coating formulation varies between manufacturers, which is one reason two films that look similar can behave differently during printing or peeling.
The coating affects properties such as:
- Ink acceptance
- Ink drying
- Powder adhesion
- Release behavior
- Surface finish
- Transfer consistency
So when choosing DTF film, don’t judge it by thickness or appearance alone.
Types of DTF Film
There isn’t just one type of DTF film.
You can choose between different peel types, finishes, coating configurations, sizes, and thicknesses.
The major categories include:
- Hot peel film
- Cold peel film
- Warm peel film
- Matte film
- Glossy film
- Single-sided film
- Double-sided film
- Sheet film
- Roll film
Let’s look at each one.
Hot Peel vs Cold Peel DTF Film:
This is one of the most important differences to understand. The peel type determines when you should remove the PET film after heat pressing.
Feature |
Hot Peel |
Cold Peel |
|---|---|---|
| Peeling | Immediately after pressing | After cooling |
| Production speed | Faster | Slower |
| Cooling wait | Little or none | Required |
| Workflow | Faster | More forgiving |
| Risk if peeled incorrectly | Can affect fine details/adhesion | Premature peeling can lift the design |
| Best approach | Follow film supplier instructions | Follow film supplier instructions |
The important thing is that hot peel and cold peel aren’t simply different techniques you can choose freely. The film’s release characteristics determine the correct method.
What Is Hot Peel DTF Film?
Hot peel film is designed to release from the transfer while the film is still hot immediately after pressing.
The major advantage is speed.
You don’t have to wait for the garment and transfer to cool before removing the film, which can make a difference when you’re processing a large number of garments.
However, hot peel requires consistent pressing and peeling technique. If the film isn’t actually designed for hot peeling, removing it immediately can damage the transfer.
Always follow the instructions for the specific film you’re using.
What Is Cold Peel DTF Film?
Cold peel film needs to cool before you remove it. After pressing, you allow the transfer to cool and then peel the film away.
This adds a little time to every transfer, but it can provide a more forgiving workflow. The important thing is not to assume that “cool enough” means the same thing for every product. Some suppliers specify room-temperature peeling, while others provide their own timing instructions.
If a cold-peel film is peeled while it is still too hot, parts of the design can lift from the garment and remain attached to the film.
What Is Warm Peel DTF Film?
Warm peel sits between hot and cold peeling.
Instead of peeling immediately or waiting for complete cooling, you peel after a short cooling period.
The exact timing depends on the film.
Warm peel can be useful for shops that want a balance between production speed and a more forgiving peeling process, but again, the manufacturer’s instructions should determine the correct timing.
Matte vs Glossy DTF Film
DTF film can also have different surface finishes.
Matte DTF Film
Matte film has a less reflective surface and is commonly used for apparel transfer workflows.
Depending on the specific product and coating, matte film can also provide a particular appearance and feel after transfer.
Glossy DTF Film
Glossy film has a more reflective surface.
The important thing to understand is that the appearance of the carrier film doesn’t automatically tell you everything about the final transfer. The film’s coating, ink, powder, curing, fabric, and pressing conditions all contribute to the final result.
So don’t choose film based on “matte = better” or “glossy = better.” Choose it based on your production requirements and the manufacturer’s specifications.
Single-Sided vs Double-Sided DTF Film
Another difference is whether the film is coated on one side or both.
Single-sided film
Only one side is designed for printing.
This means you need to load the film in the correct orientation. Printing on the wrong side can result in poor ink behavior and a wasted sheet.
Double-sided film
Both sides are designed to provide the required printing surface.
Some double-sided films also include properties such as anti-static behavior, which can make handling easier, particularly with cut sheets.
For shops using sheet-fed workflows, double-sided film can reduce mistakes caused by loading the wrong side.
DTF Film Sheets vs Rolls
DTF film is available as individual sheets and continuous rolls. The best choice depends mainly on your printer and production volume.
DTF Film Sheets
Sheets can be convenient for:
- Small businesses
- Beginners
- Testing different films
- Low-volume printing
- Smaller DTF printers
DTF Film Rolls
Rolls are more suitable for:
- Higher production volumes
- Continuous printing
- Larger DTF printers
- Gang sheet production
- Automated workflows
The film width should match your printer’s supported media size. Buying a film roll that is significantly wider than your printable area can simply create more waste.
What DTF Film Sizes Are Available?
DTF film comes in different widths and lengths depending on the supplier and printer.
Common formats include:
- A4 sheets
- A3 sheets
- A3+ sheets
- 13-inch rolls
- 24-inch rolls
- Larger production rolls
The important thing isn’t choosing the biggest film available. Instead, choose a size that matches:
Printer width + typical job size + production volume.
For example, a small shop printing individual logos may have little reason to use a large production roll, while a busy shop producing long gang sheets may benefit from continuous roll film.
Does DTF Film Thickness Matter?
Yes, but thickness shouldn’t be treated as the only measure of film quality.
DTF films are available in different thicknesses, with commonly marketed specifications including around 75 µm and 100 µm, although the available range varies by manufacturer.
Film thickness mainly affects the physical handling characteristics of the carrier.
It can influence:
- Rigidity
- Handling
- Feeding
- Stability
- Curling
- Ease of positioning
But thicker doesn’t automatically mean better.
The surface coating is extremely important because it directly affects how the film accepts ink, holds powder, and releases the transfer.
Think about film as having two separate considerations:
Base material = physical behavior
Coating = printing and release behavior
How to Choose the Right DTF Film?
Choosing DTF film becomes easier when you stop looking at it as a simple consumable and instead consider your entire workflow.
Here are the most important things to check:
1. Printer compatibility
Make sure the film is suitable for your printer and ink system.
Different printers may use different printheads, ink configurations, and media handling systems.
2. Peel type
Decide whether your workflow requires:
- Hot peel
- Warm peel
- Cold peel
Don’t choose based only on speed. The correct peel method is the one specified for the film and transfer you’re using.
3. Film width
Match the film width to your printer.
A film that’s too narrow can limit your designs.
A film that’s unnecessarily wide can increase waste.
4. Surface finish
Consider whether you need:
- Matte
- Glossy
- Other manufacturer-specific finishes
Test the film with your own production setup before purchasing large quantities.
5. Film thickness
Look at the manufacturer’s thickness specification, but don’t use thickness as the only quality indicator.
6. Powder compatibility
Your film, ink, and adhesive powder need to work together.
A film that performs well with one powder or ink combination may not behave exactly the same with another.
7. Supplier consistency
Consistency matters.
If one batch produces excellent transfers and the next behaves differently, it can create problems for production.
A reliable supplier with consistent specifications can be more valuable than a slightly cheaper film.
8. Cost per usable transfer
Don’t compare films only by their purchase price.
Consider: Film cost + wasted film + failed transfers + production time
A cheaper film that produces more failed prints may actually cost more.
How to Print on DTF Film Correctly?
The exact printer and RIP settings vary, but the general workflow looks like this.
Step 1: Prepare the artwork
Make sure your design is:
- High enough resolution for the intended print size
- Properly transparent where required
- Correctly sized
- Properly mirrored if your workflow requires it
Your RIP software will usually handle the required white-ink and color-channel processing.
Step 2: Load the film correctly
Check which side of the film is printable. This is especially important with single-sided film. If you’re unsure, check the product documentation rather than guessing.
Step 3: Print the design
The printer deposits the CMYK and white ink onto the coated film.
Printer settings such as:
- Ink volume
- White ink settings
- Passes
- Print speed
- Resolution
Can vary depending on the printer, RIP, ink, film, and desired output. There isn’t one universal DTF setting that works for every combination.
Step 4: Handle the wet print carefully
Avoid touching or dragging the printed surface. At this stage, the ink needs to remain in the correct position so that the adhesive powder can cover the printed areas properly.
How to Apply DTF Powder to Film?
DTF adhesive powder is what helps the printed design bond to the garment. The basic process is:
Wet print → Powder application → Remove excess powder → Cure
The powder should cover the printed areas evenly.
Too little powder can lead to poor adhesion whereas too much powder can create unwanted build up and affect the finished transfer. The goal is even coverage without unnecessary excess.
Automatic powder shakers can help shops achieve more consistent application, particularly at higher production volumes.
How to Cure DTF Powder?
After powder application, the adhesive needs to be cured.
Common methods include:
- DTF curing ovens
- Powder shaker/curing units
- Heat press curing
The curing process melts the adhesive powder so that it forms a suitable layer over the printed design.
However, curing temperature and time should not be copied blindly from another setup.
They can vary depending on:
- Adhesive powder
- Film
- Equipment
- Ink
- Transfer construction
Use the powder and film manufacturer’s recommended settings as your starting point.
How to Heat Press a DTF Transfer?
Once the transfer has been printed, powdered, and cured, it’s ready for application.
A basic workflow is:
1. Prepare the garment
Place the garment flat on the heat press.
A short pre-press may be useful depending on the garment and application process.
2. Position the transfer
Place the DTF transfer with the correct side against the garment.
3. Apply heat and pressure
Use the temperature, time, and pressure specified for your transfer materials.
There is no single universal DTF heat-press setting.
4. Peel the film
Follow the film’s specified peel method.
5. Finish the transfer
Some workflows include a second finishing press after the film is removed.
Again, follow the transfer supplier’s instructions.
Common DTF Film Problems and How to Fix Them
DTF film problems can be frustrating because the actual cause isn’t always the film itself.
Here’s a practical troubleshooting guide.
Problem |
Possible Cause |
What to Check |
|---|---|---|
| Ink doesn’t dry properly | Film coating or ink settings | Film compatibility and ink volume |
| Ink spreads/bleeds | Coating or excessive ink | Film surface and RIP settings |
| Powder sticks everywhere | Too much ink/powder or poor powder removal | Powder application |
| Powder doesn’t stick | Ink too dry or incompatible film/powder | Print-to-powder timing |
| Transfer stays on film | Incorrect peel timing or pressing | Film instructions and press settings |
| Design lifts while peeling | Incorrect peel method | Hot/cold/warm peel specification |
| Film curls | Heat, humidity, or handling | Storage and curing conditions |
| Transfer cracks | Pressing, curing, fabric, or transfer construction | Full application process |
| Colors look inconsistent | Ink, RIP, film, or printer variables | Complete print setup |
| Excessive film waste | Poor layout or failed prints | Artwork arrangement and workflow |
Why Is DTF Film Not Peeling?
This is one of the most common questions about DTF printing. If the film doesn’t release correctly, check these factors first:
1. Are you using the correct peel method?
A cold-peel film should not be peeled like a hot-peel film.
Likewise, a hot-peel film shouldn’t necessarily be left to cool before peeling.
The film determines the correct method.
2. Was the transfer pressed correctly?
Incorrect temperature, pressure, or time can affect how the adhesive bonds.
3. Was the powder cured correctly?
Under-cured adhesive may not behave correctly during application.
4. Is the film compatible with your setup?
If you’ve ruled out the process settings, test the film with the recommended ink and powder combination.
Why Is DTF Powder Sticking to the Entire Film?
Ideally, adhesive powder should attach to the printed areas. If powder is sticking across large areas of the film, possible causes include:
- Excessive ink
- Ink spreading
- Excess powder
- Incomplete removal of loose powder
- Incorrect powder application
- Film/coating behavior
- Environmental conditions
Start by checking whether the printed image itself is behaving correctly before changing several settings at once.
Why Is DTF Film Sticking to the Garment?
Film sticking can happen when the transfer hasn’t released properly. Possible causes include:
- Incorrect film type
- Incorrect peel timing
- Incorrect heat
- Incorrect pressure
- Incorrect curing
- Incompatible materials
If you’re using a supplier-made transfer, check the supplier’s application instructions first.
How to Store DTF Film?
Proper storage is easy to overlook, but it matters. DTF film has a coated surface, and environmental conditions can affect how that coating performs.
General storage best practices include:
- Keep film in its original packaging when possible
- Store it in a clean, dry environment
- Protect it from dust
- Keep it away from direct sunlight
- Avoid excessive heat
- Avoid excessive humidity
- Keep film flat and protected from deformation
Some storage guidance recommends controlled room-temperature and moderate-humidity conditions, but the exact recommendation should come from the film manufacturer.
Avoid storing large quantities of film next to a heat source or in a damp area.
How Long Does DTF Film Last?
DTF film isn’t something you should assume will perform indefinitely. Its usable life can depend on:
- Manufacturer
- Coating
- Packaging
- Temperature
- Humidity
- Exposure to sunlight
- Storage conditions
Always check the supplier’s shelf-life recommendation.
More importantly, watch for changes in the film itself.
Signs of potential problems include:
- Unusual curling
- Surface contamination
- Poor ink reception
- Excessive ink spreading
- Inconsistent powder adhesion
- Unexpected peeling behavior
Can You Reuse DTF Film?
Generally, no.
DTF film is designed as a carrier for a single transfer process. After the design has been transferred, the film isn’t intended to be cleaned and reused for another print.
Trying to reuse it can introduce:
- Ink contamination
- Coating damage
- Adhesion problems
- Inconsistent printing
Treat DTF film as a consumable rather than a reusable printing surface.
How Much Does DTF Film Cost?
The price depends on:
- Film size
- Sheet vs roll
- Thickness
- Coating
- Peel type
- Supplier
- Quantity
- Shipping
- Region
Some current industry buying guides list DTF film in a broad range depending on format and volume, but prices vary significantly between suppliers and markets.
For a print shop, cost per usable transfer is more useful than simply asking, “How much does one roll cost?”
For example:
Imagine two rolls:
Film A: $100
Film B: $130
If Film A causes frequent misprints and wasted sections while Film B produces consistent results, the cheaper roll may not actually be cheaper to use.
That’s why it’s useful to track:
Total film cost ÷ successful transfers
rather than just purchase price.
How to Reduce DTF Film Waste?
Film waste can quietly increase your production costs. One of the biggest opportunities is better artwork arrangement.
Instead of placing designs randomly on a sheet, you can arrange them to use available film more efficiently.
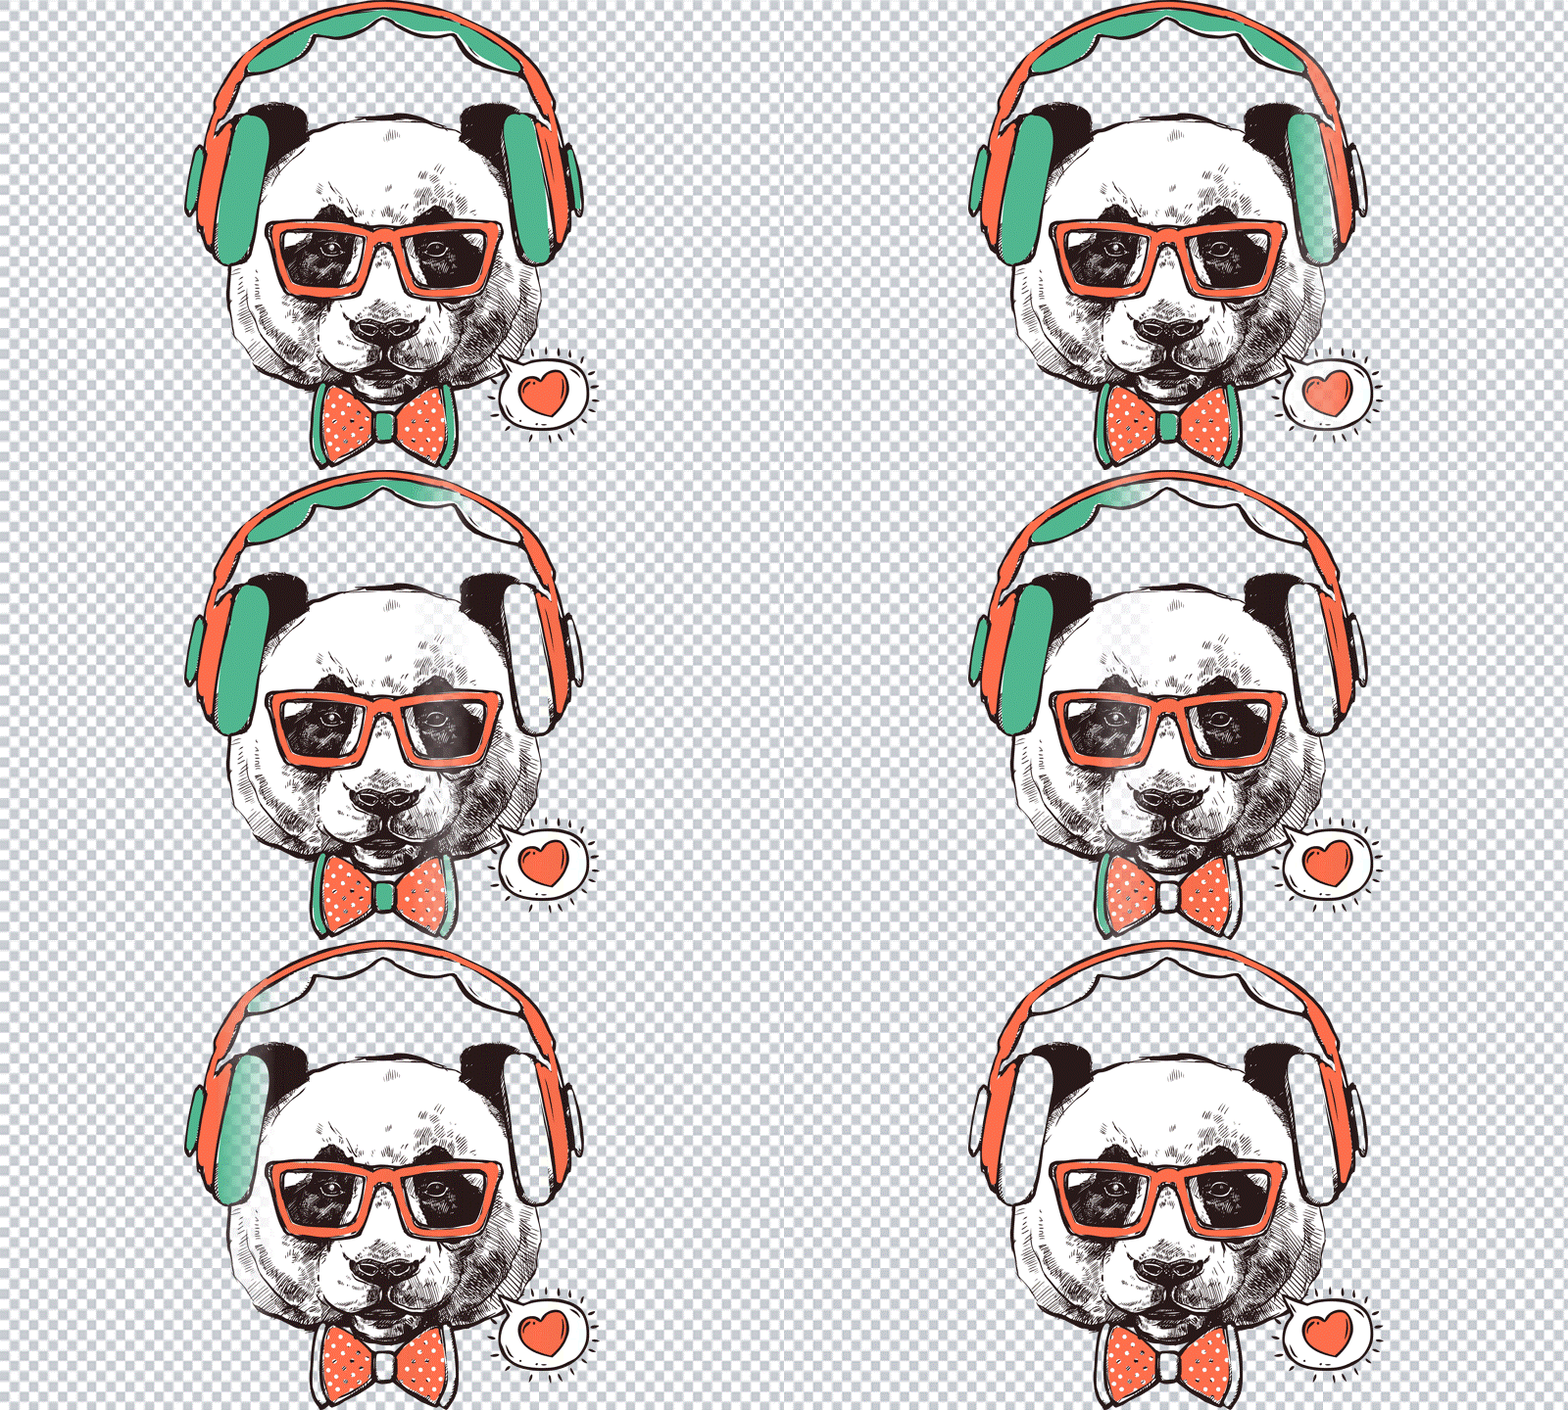
This is especially important for gang sheet production, where multiple designs are combined onto one sheet or continuous roll.
Useful ways to reduce waste include:
Use Efficient Nesting
Arrange designs close enough to use available space without compromising the transfer.
Avoid Un-necessary Gaps
Excessive spacing between designs wastes usable film.
Check Artwork Before Printing
Catching a low-resolution or incorrectly sized design before printing is much cheaper than discovering the problem afterward.
Reduce Failed prints
Check film orientation, printer settings, ink flow, and powder application before starting large batches.
Test before large production runs
When introducing a new film, ink, or powder, run a small test first.
Use automation for large gang sheets
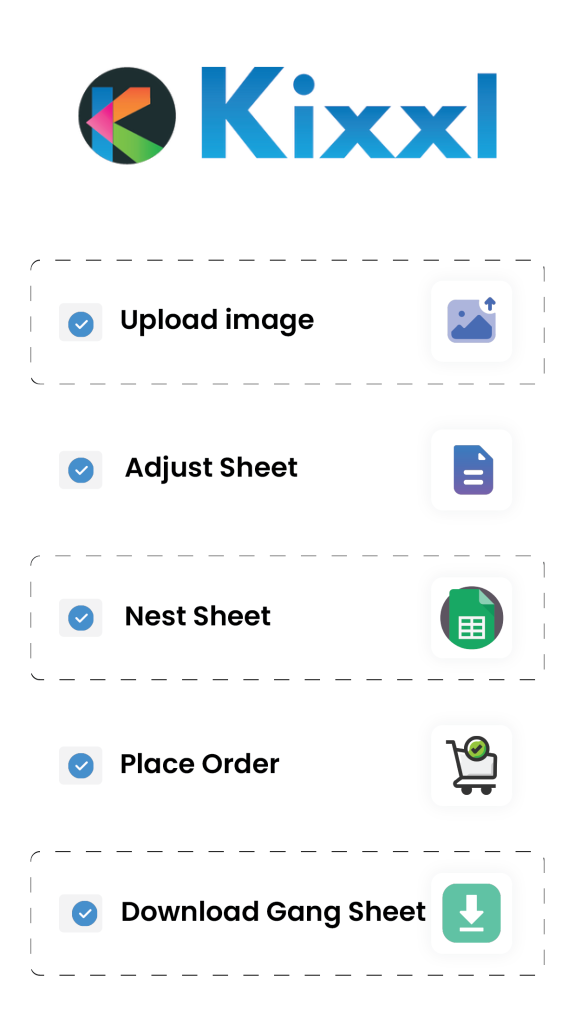
For high-volume shops, automated nesting and gang sheet tools can reduce manual layout work and help use film more efficiently.
The goal isn’t simply to fit as many designs as possible onto a sheet. It’s to maximize usable film while maintaining reliable transfer quality.
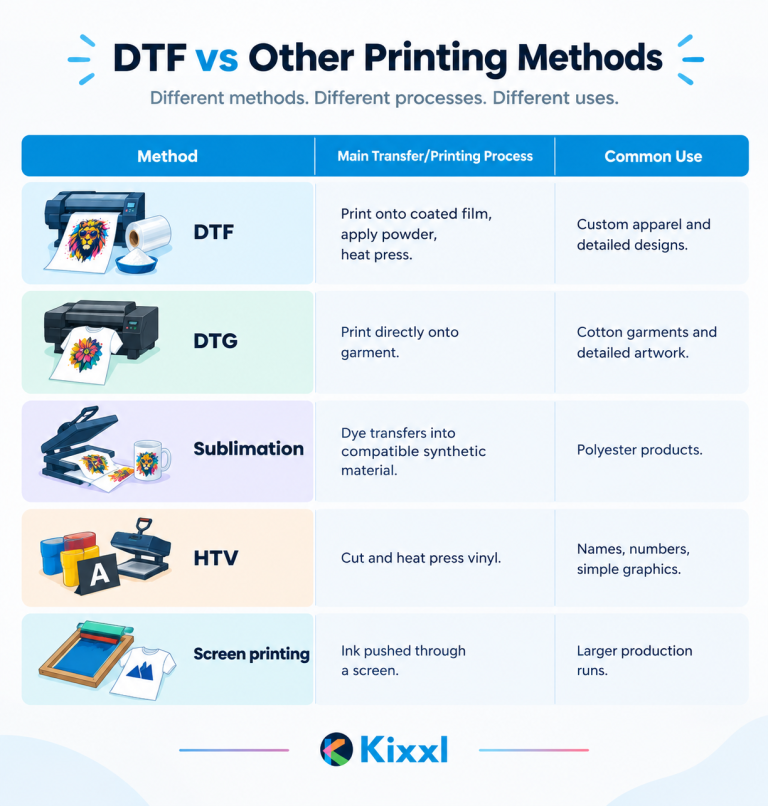
DTF Film vs Other Printing Methods
DTF isn’t the only way to decorate garments. Here’s a simple comparison:
Final Thoughts
DTF film might look like one of the simplest parts of a DTF setup, but it plays an important role in the entire transfer process.
The right film needs to work with your:
Printer + Ink + Powder + Curing Process + Heat Press + Garment
Choosing film isn’t just about finding the cheapest roll or the thickest material.
Look at the coating, peel type, size, printer compatibility, handling characteristics, supplier consistency, and cost per successful transfer.
Most importantly, don’t assume that DTF film settings are universal. Film manufacturers can use different coatings and release systems, so always start with the specifications provided for your particular film.
Once your film, ink, powder, curing, and pressing process are properly matched, you can reduce failed transfers, improve consistency, and make much better use of every inch of film.